DSH Mobile communityDeployment2 min read
When to self-host the DSH Mobile Relay
Decide whether the hosted Relay fits your use case, then understand what changes when you operate the open-source Relay yourself.
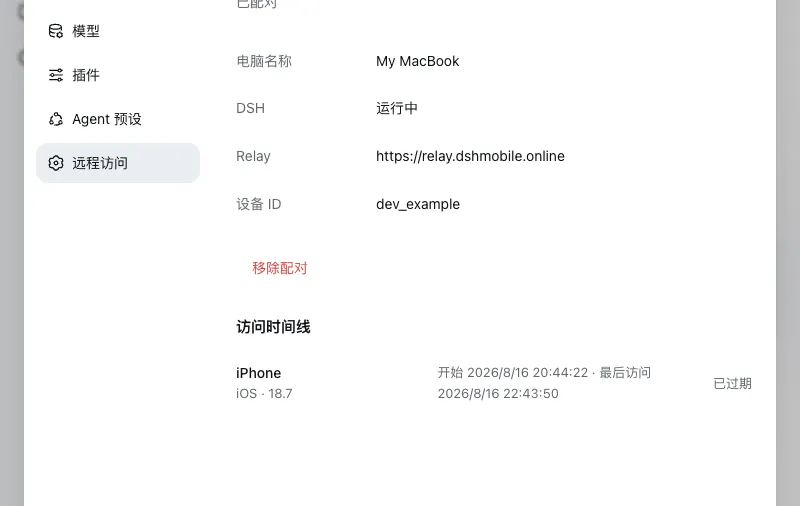
DSH Mobile needs a Relay that both the phone and computer can reach. The default public build points to https://relay.dshmobile.online, but the app can switch to a compatible private Relay without recompilation.
Self-hosting changes who operates the forwarding service. Version 0.1.4 uses the same end-to-end encrypted sealed tunnel with either the hosted or a private Relay.
Use the hosted Relay when
- You want to try the open-source project quickly.
- You accept that the Relay can observe account/device associations and traffic metadata, but not DSH content.
- You do not need a private account database or private operational logs.
- You have reviewed the PSK profile’s lack of forward secrecy.
The public Relay keeps accounts, devices, pairing state, and bounded access metadata. It does not persist forwarded DSH HTTP or WebSocket bodies.
Self-host when
- You need control over the server, TLS termination, storage, backups, and logs.
- You want accounts and tokens isolated inside your own Relay instance.
- You need to select the host region or network edge.
- You can operate a stable HTTPS service with WebSocket support.
The MVP Relay uses SQLite and must run as one instance. Plan durable storage and backups for /data.
What self-hosting changes
The Relay stores account and device records and observes online state, connection timing, and ciphertext sizes. Self-hosting places that data and operational logging under your control.
It does not change the 0.1.4 content-encryption protocol: DSH HTTP, SSE, and WebSocket envelopes remain encrypted between Mobile and Companion, and the QR-delivered PSK still does not provide forward secrecy.
Deployment outline
Download dsh-relay-v*.tar.gz from the latest Suite release, create .env, set a long random JWT_SECRET, and start the Docker Compose stack.
cp .env.example .env
docker compose up -d --build
curl http://127.0.0.1:8787/health
Put an HTTPS reverse proxy in front of port 8787, allow WebSocket upgrades, and back up the persistent data.
Then start DSH with your origin:
DSH_RELAY=https://relay.example.com npx @deepseek-ai/dsh webEnter the same origin from the mobile app. Switching Relay logs out the current account because each instance has an independent account and token boundary.
Follow the complete private Relay guide and review the security model before inviting other users.